|
Building Ranger - a Racing Footy
|
There is a ready made Footy Hull available from Breaking Wind Boats in HIPS based on the Ranger called the
|
| ||||
Footys are great little boats that can be built on the kitchen table and still be highly competitive. My designs have been successful in both national and international competition, and I invite you to build my latest boat, Ranger.
Ranger (Sheila said I couldn’t name it Cobra8, so I named it after my dog) is a double diagonal, lightweight racer intended for competition. I built mine using 1/32 balsa for the side panels, with 1/16 balsa for the deck, bow, stern, and bottom panels. If you’d like more strength, you can use 1/16 balsa or 1/64 ply for all panels.
You can click on the pictures to enlarge them.
Assembling the Hull
|
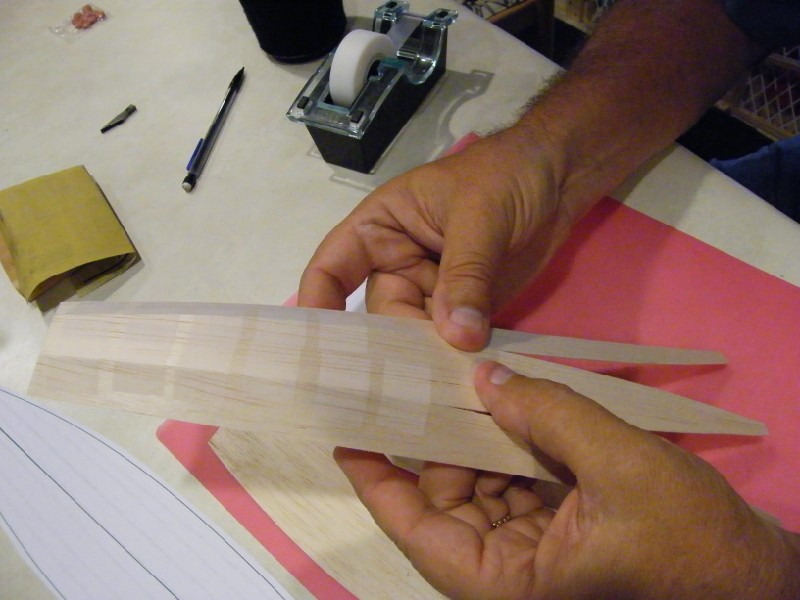
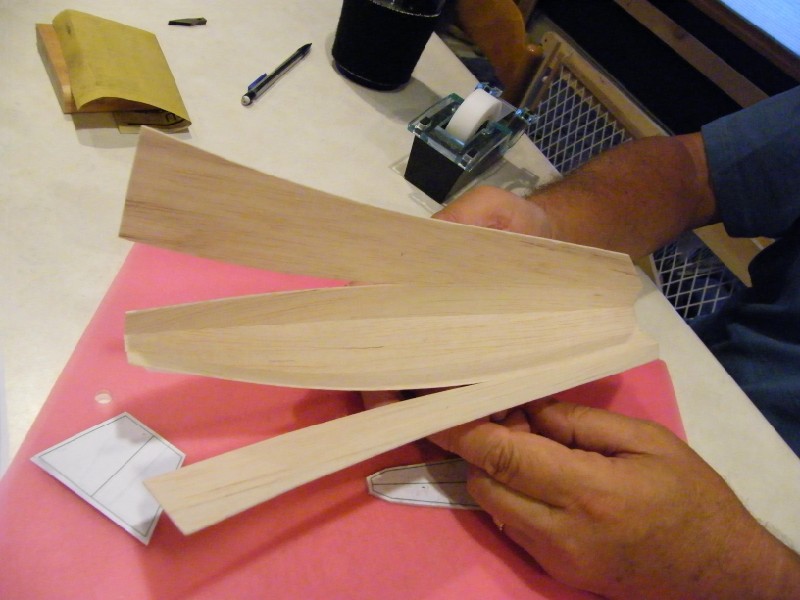
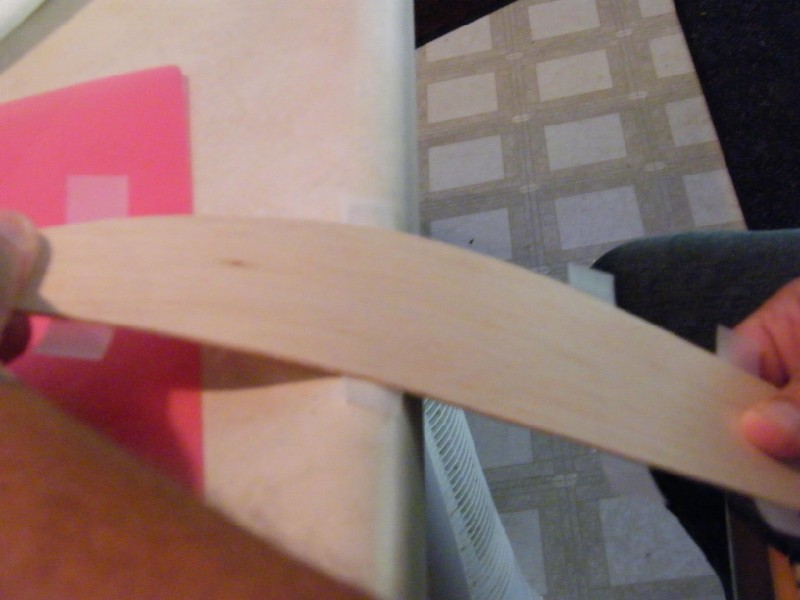
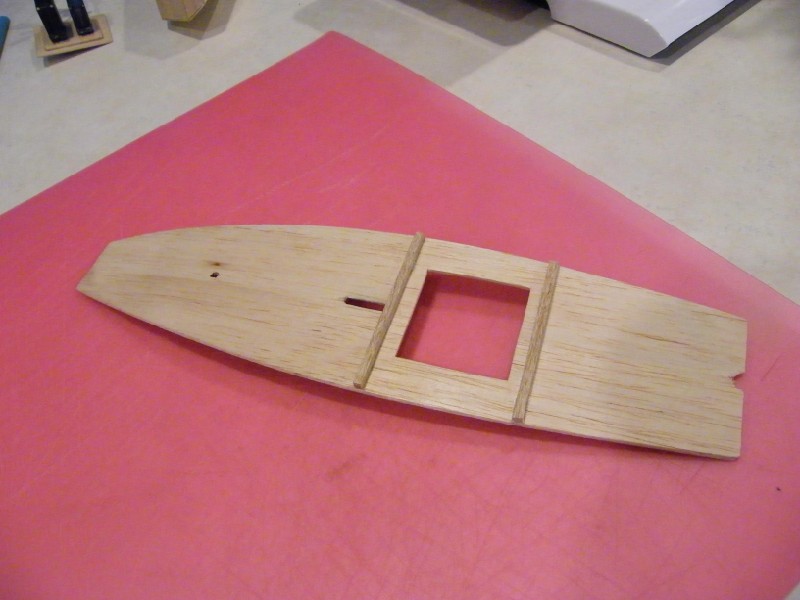
Transfer the plan to your wood sheets and carefully cut the panels to size. Then bevel the edges a bit so that when the panels take the hull shape, they fit tightly together (less at the bow, more in the middle and stern.)
|

|
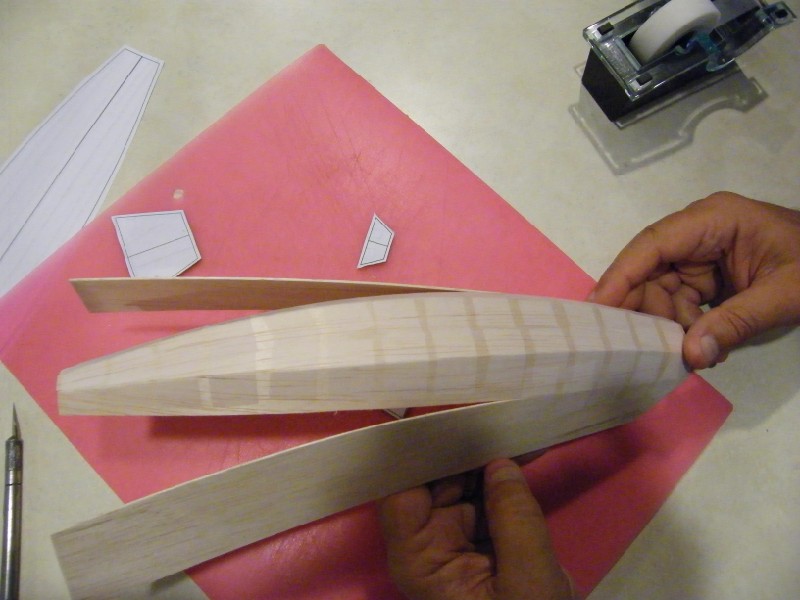
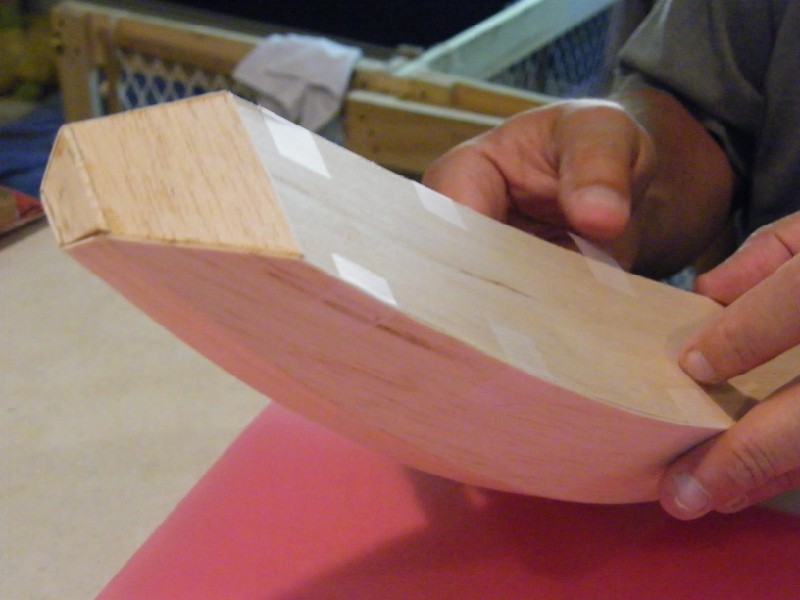
Putting the panels together takes patience and careful work, but not a lot of brain power. Start from the bottom panels and work your way up. Use short pieces of tape, and pull your panels tightly together as you go along the seam. If the bevels are nice and you tape tightly, the inside and outside seams look smooth and tight.
|
|
|
|
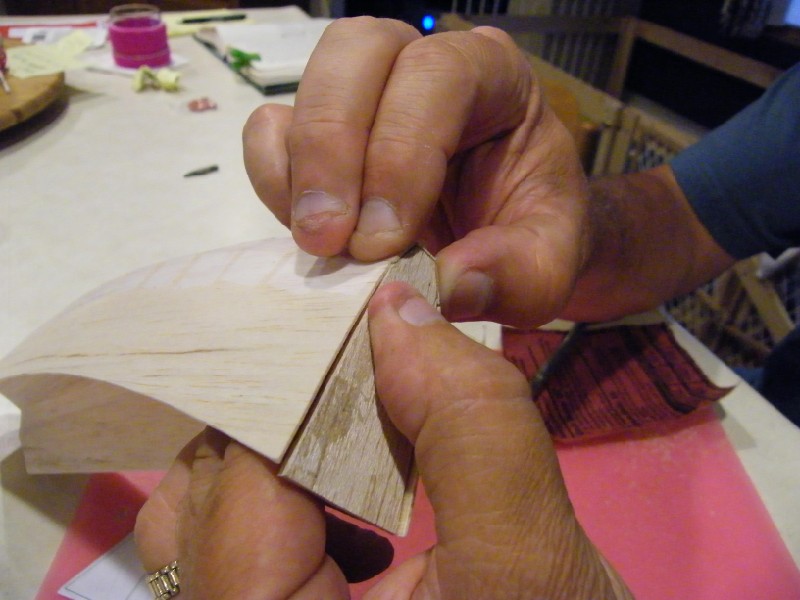
Next fit the bow and stern panels. It’s important to bevel these pieces to get a good fit. Tack them in between the side panels with a couple drops of AC glue. Don’t glue them in solidly yet, or things may go crooked.
|
|
|
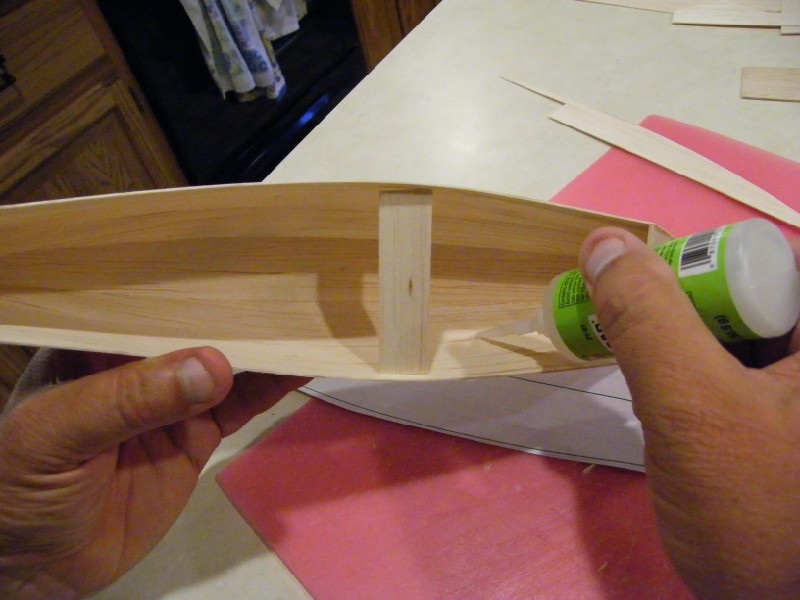
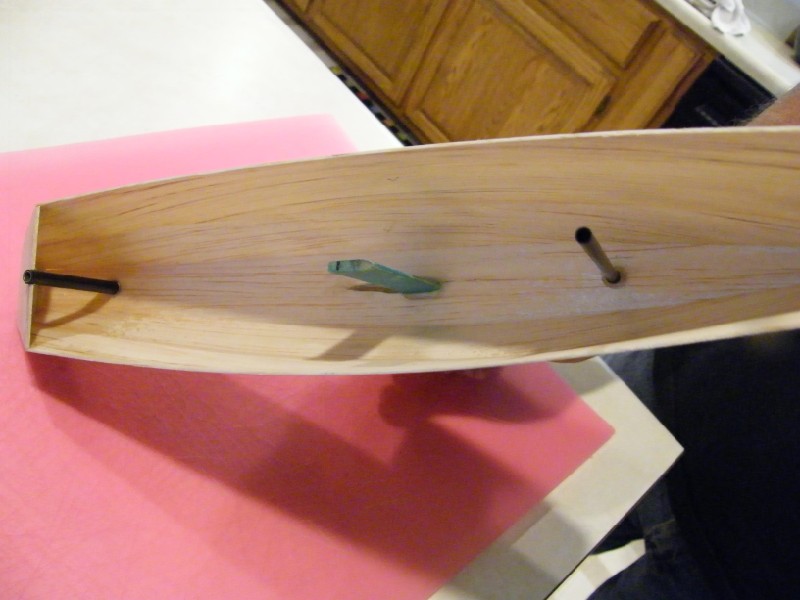
Insert a temporary thwart to spread the side panels to the proper beam. Make sure everything looks straight. Then to permanently bond the panels, run the glue of your choice down the seams inside the hull.
|
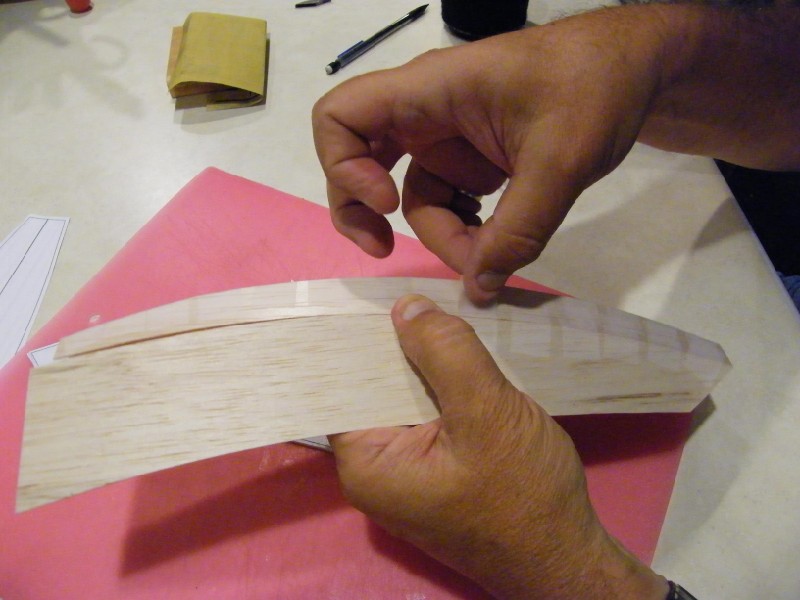
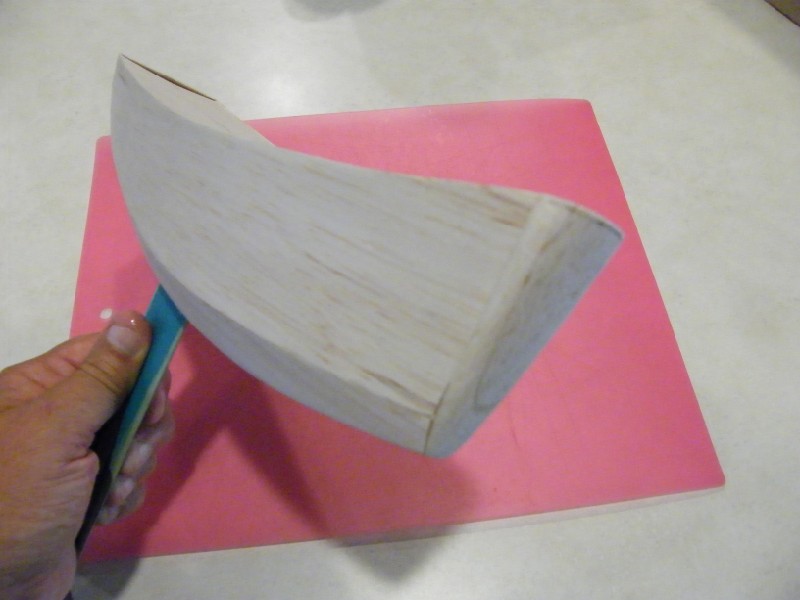
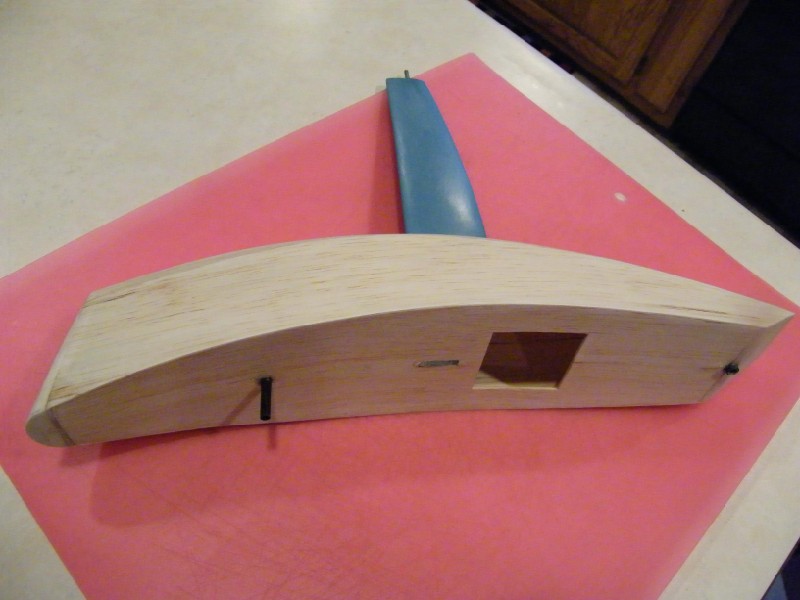
Now fit the deck. I pre-bend it by drawing it across the edge of my work table. Bevel the edge and temporarily tape it in to verify the fit.
|
|
|
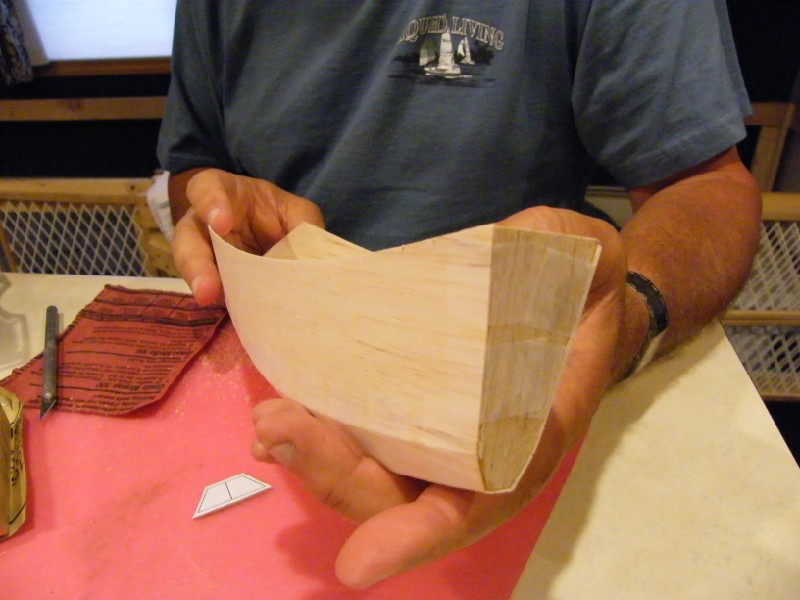
Carve a balsa block to round off the bow into a smooth shape.
|
|
Adding the Fin, Bulb, Rudder & Mast Tube,
|
My fin is carved from 3/16 basswood. The fin inserts through the hull and is goes through the deck (don’t glue it yet!) to give it strength and keep it vertical.
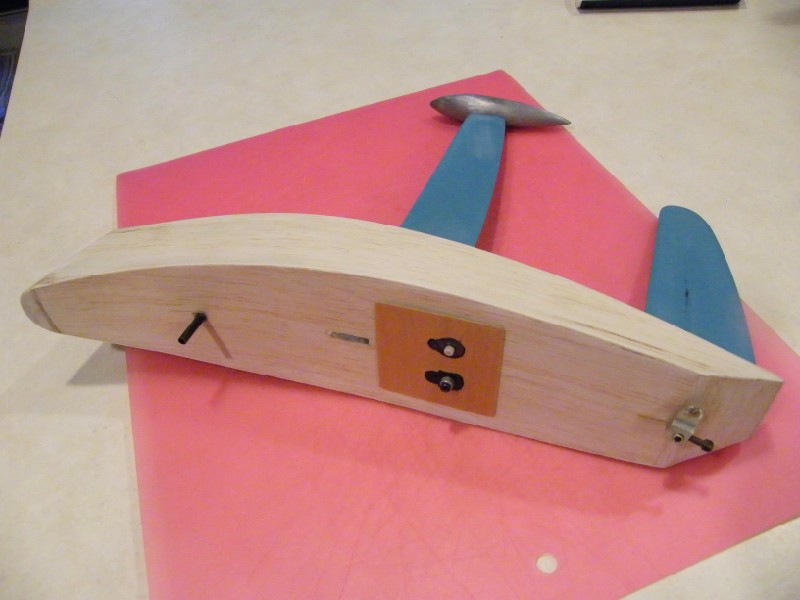
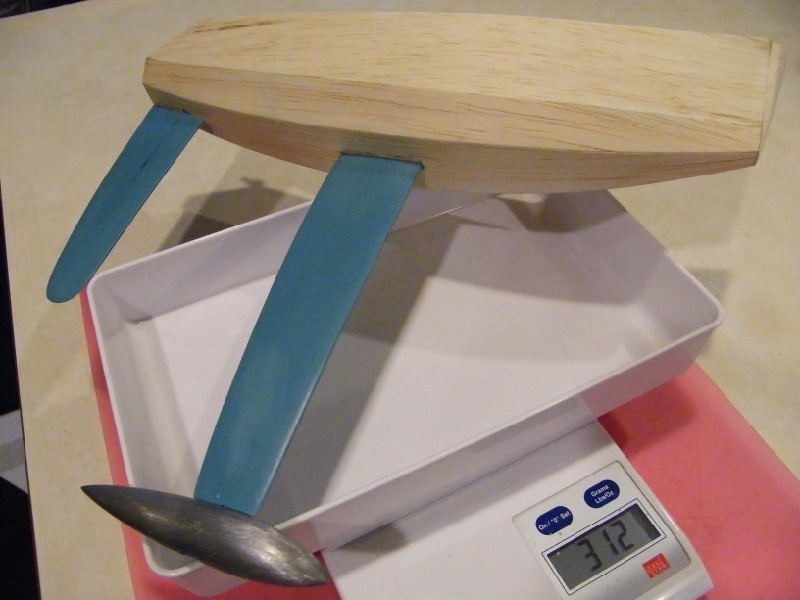
The bulb is sanded down from an 8 oz. trolling sinker. I made it removable for travel by gluing a bolt into the fin and drilling the bulb for the bolt and nut. The rudder tube and mast tube are carbon tubing. Place some hard material in the bottom of the mast tube to prevent the wire mast drilling a hole in the bottom of the boat. My rudder is carved from 1/8 balsa with a carbon tube for the rudder post. The post is reinforced with brass tubing over the top where the set screw bears against it to fasten the control horn. |

|
Adding the Deck
Cut the hatch from the deck (save it for later) and drill for the rudder and mast tubes. Reinforce the hatch opening. Then seal the inside of the hull and bottom of the deck. Seal the inside of the boat now (I use clear Krylon spray paint.) Then glue the deck in place, taking care that everything remains lined up properly. Seal the outside surfaces with your choice of paint. Sealing with thinned epoxy or fancy paintwork can add a surprising amount of weight, so tread lightly.
|
|
Finishing the Boat
I attached the radio gear to the bottom of the hatch cover. The top layer of the cover is 1/64 ply, and the bottom layer is the 1/16 balsa cut out from the deck. Drill and cut the cover to fit your servos. You can use micro servos similar to Hitec HS-55 for rudder and HS-85mg for sails. Three AAA lithium’s in the bottom of the boat supply the power.

|
|
Assembling the Rigs
|
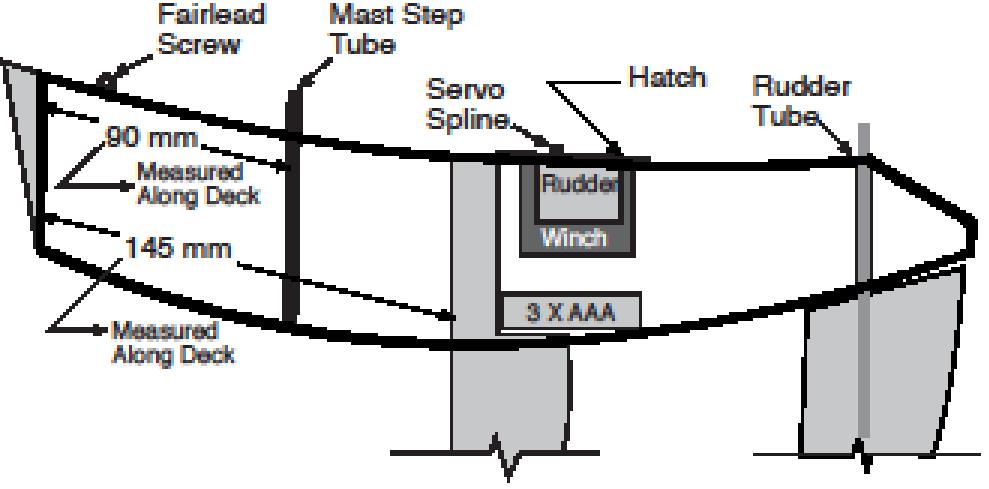
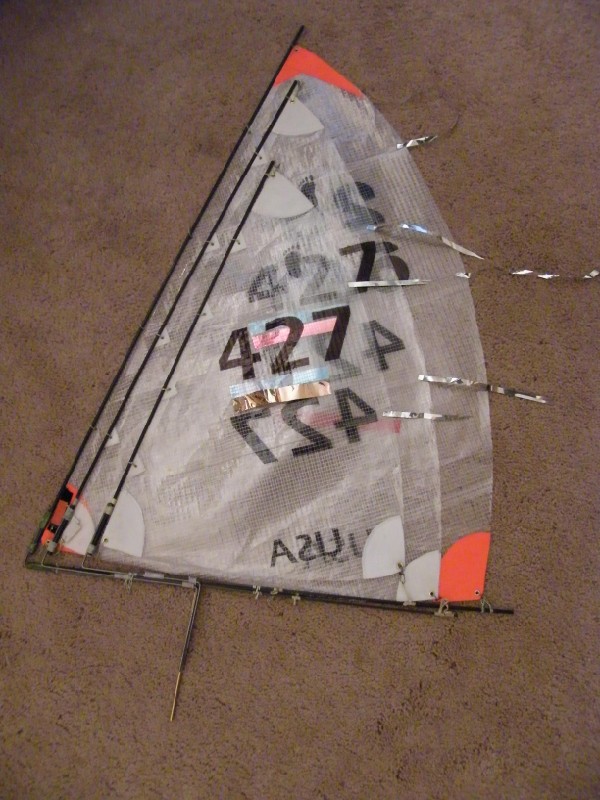
Ranger uses McRig’s because they are easy to build, easy to change, and very effective. The dimensions for 3 rigs (enough to handle most wind conditions) are illustrated in the plans. The Z-wire bend angles need to be reasonably accurate, and the length going into the mast tube is intended to go all the way to the bottom of the hull. You may think the rig is too far off the deck, but that’s to clear the top of the measurement box. Rig and rudder must demonstrate full motion used in racing when measured in the box. My sails are Trispi 25, and were made by Scott Spacie. You can use any light material that is convenient. Roger Stollery has found that light material with a little stretch (bin bags, in the UK) takes a nice set without having to make paneled sails.
For more information see How to Make Simple McRig Sails article by Scott Wallis |
|
Get Ready to Rock & Roll
|
Carefully built, Ranger is very light and takes advantage of diagonal placement in the box to get longer waterline length. Fitted with the proper rig, Ranger will track straight upwind with no rudder correction and sail fast. I hope you’ll have fun building and sailing her…and beating some of those other Footys at your pond!
|
|